Day 222 - 3D Printed Odds and Ends
It's no secret I have a 3D printing fetish. To take an idea from its most basic conception to a physical product in the span of an afternoon is a truly remarkable thing. Whereas this once required a certain degree of highly specialized knowledge of woodworking, pottery, plastic casting, or metalworking, the modern world has given us 3D printing, which, although not entirely without its own technical challenges, has collapsed hours and hours of strenuous effort into mere moments. So, yeah, being a person without a lot of specialized knowledge in artisanal disciplines, I am a big fan.
Merging my hobby of 3D printing with my love of electronic music, I present to you a few designs.
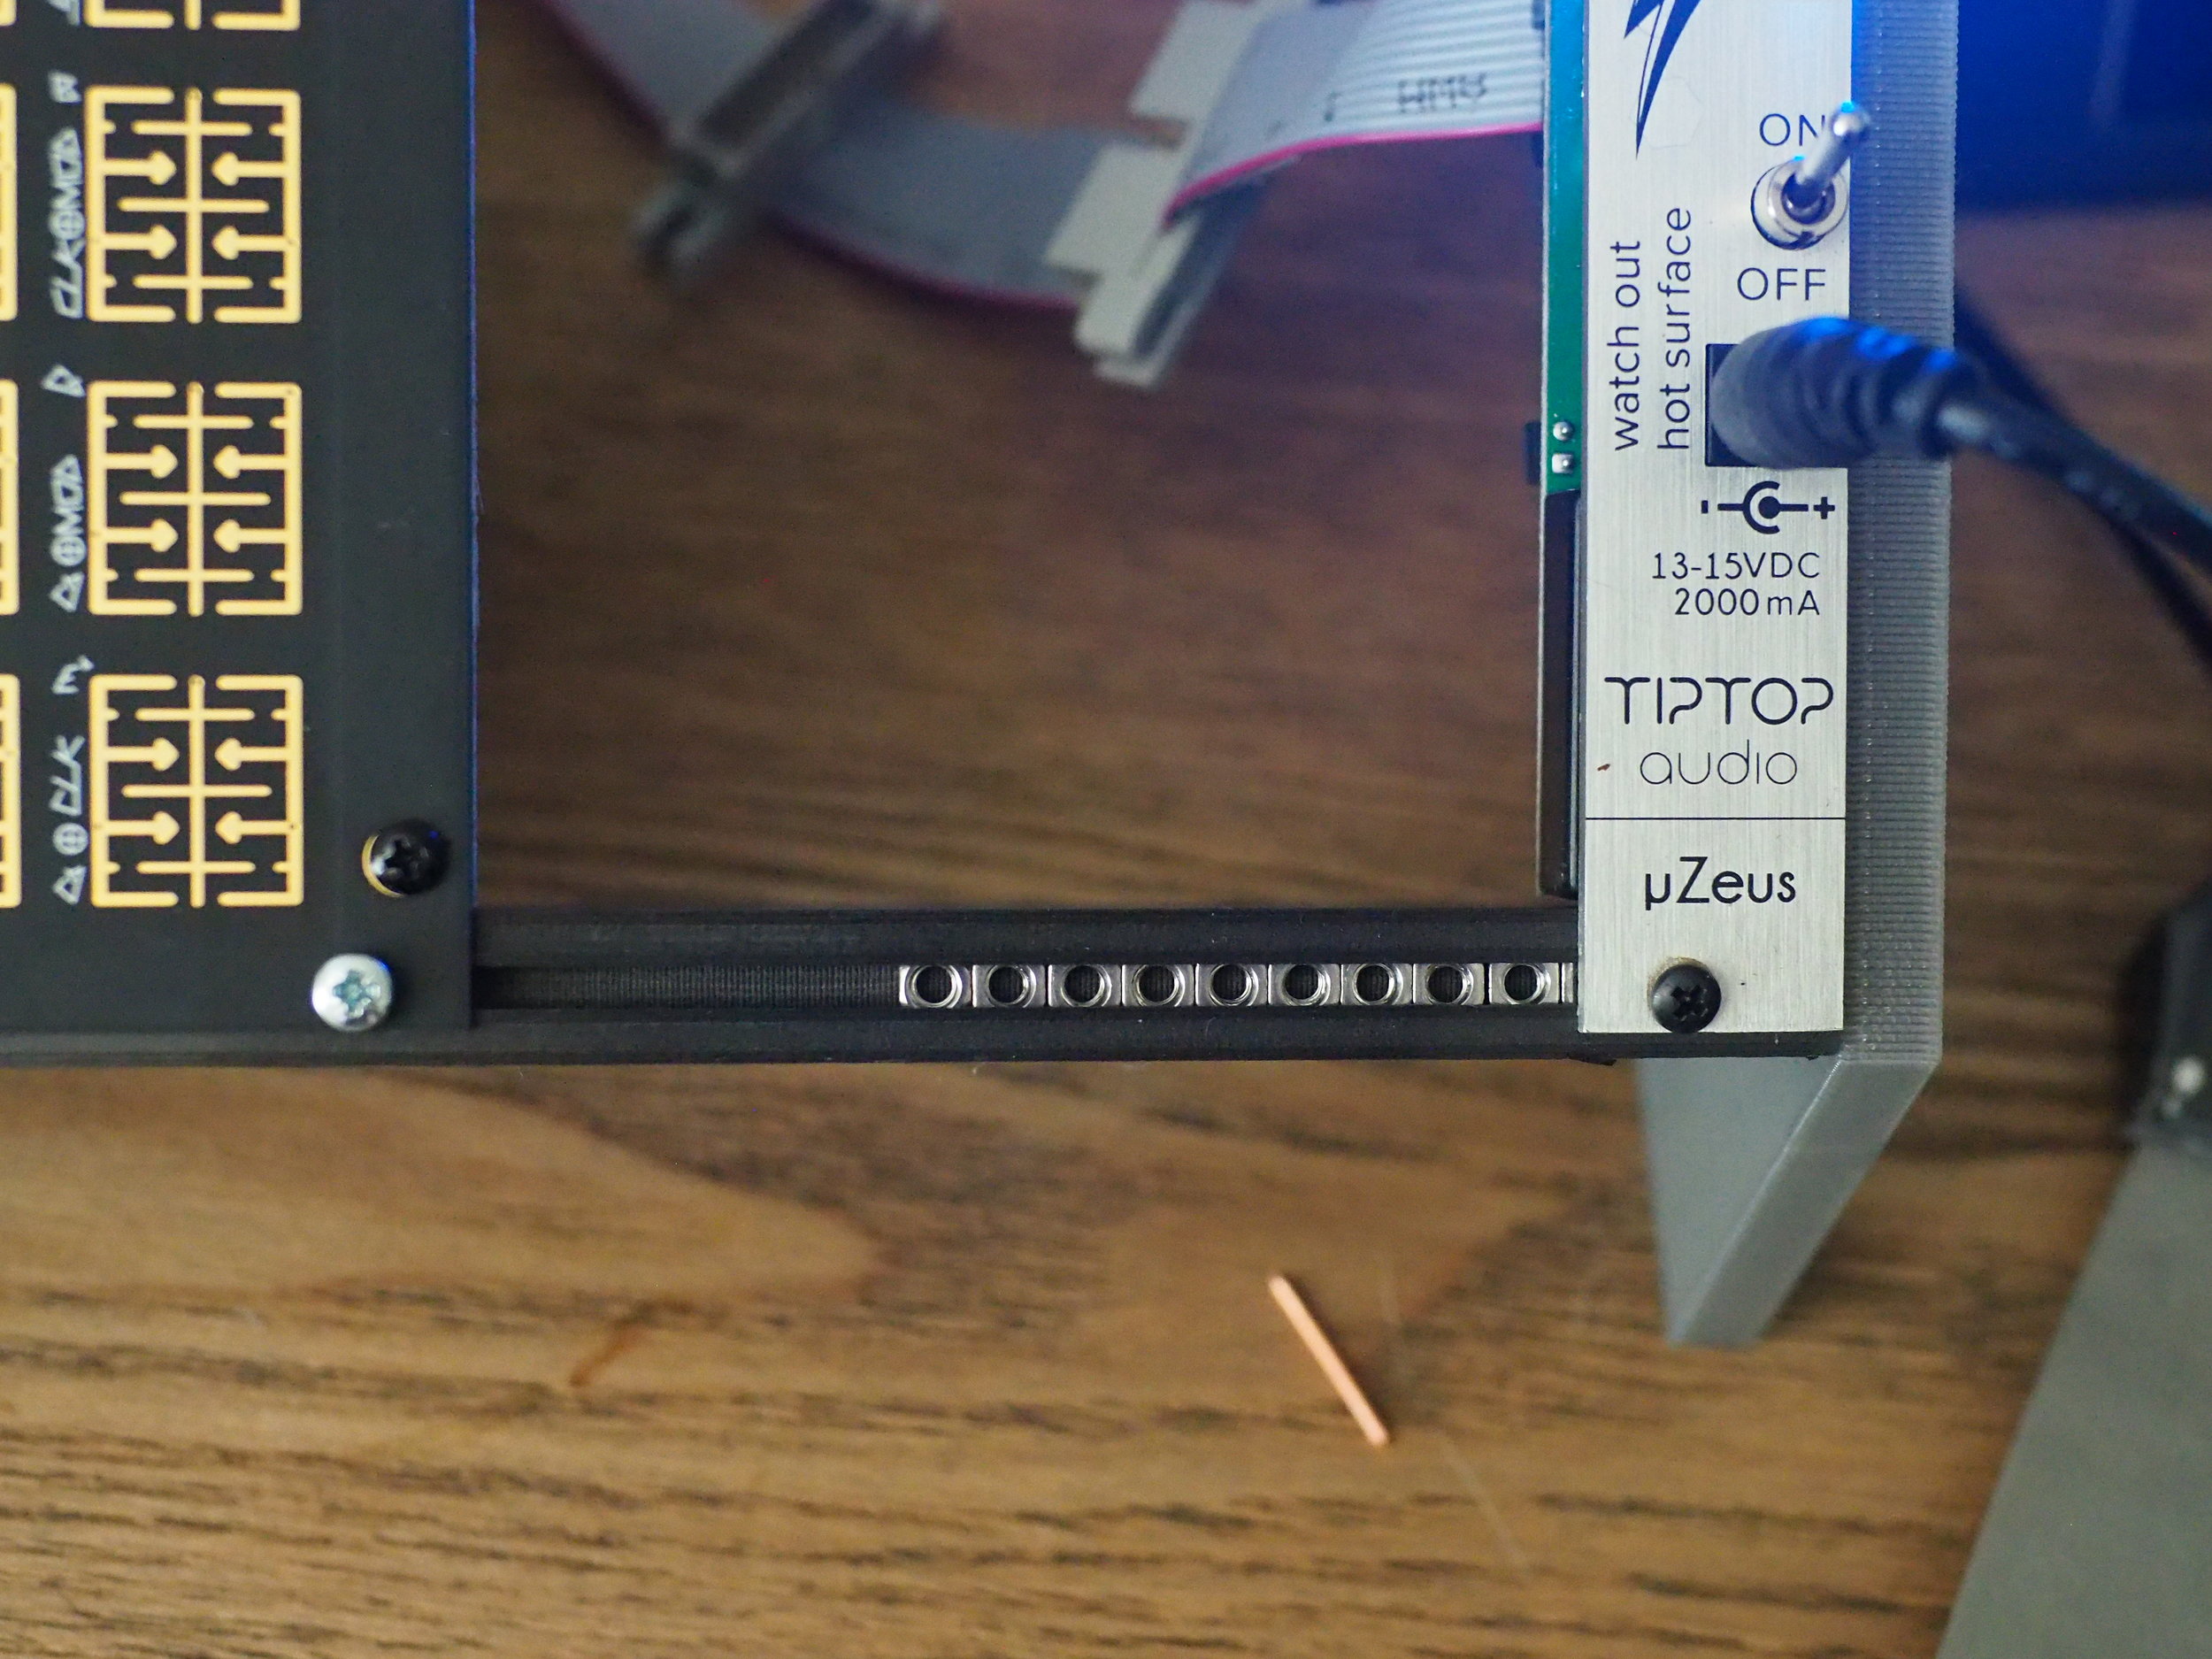
3D printed eurorack rails affixed to a 3d printed bracket.
Here's a design for 3d printed rails. Their design is sort of specific to some brackets I had had in mind, also pictured (whose design is similarly conceived to complement that of the rails). I don't know what all risks I'm taking by mounting stuff on plastic rails, though heat dissipation comes up in a lot of threads about the uZeus. That said, I've seen people screw these things directly on wood, and you certainly don't get more insulating than that. I'd wager the heat-sinking properties of the aluminum rails is overstated and that this will be suitable.
I'd like to mention that I am providing these designes for strictly experimental purposes; they have not undergone any rigorous testing and I cannot make any promises about their safety to you and your equipment.
Stiffness is another major consideration when talking plastic. You certainly don't want rails bending this way and that. For the print pictured above I chose a carbon fiber PLA from ProtoPasta, who makes some quality exotic filaments. This material is extremely stiff, but it's also extremely expensive in comparison to plain-Jane PLA. My advice to anyone going this route is to make sure you have your settings dialed in perfectly when using this filament, lest continual reprints cost you dearly.
The cheaper alternative is to use regular PLA, which, when printed dense enough, is more than adequate for the job. It will be a fair amount heavier than the carbon fiber and lack the beautiful, matte black. But you can have as many rails as you desire for only a dollar or two a pair, depending on your settings and filament cost.
Of course, a pair of rails isn't going to get you much if you don't have a bracket into which to affix them. If you're intimidated by woodworking (which you shouldn't be; see my post about DIYing a wooden case), lazy, or just want to put your 3D printer to good use, then I have also provided an alternative, and one that plays quite nicely with the rails described above. See my Parameteric Eurorack Bracket on Thingiverse for fun and adventure. Witness the glory of my entirely 3D printed (except for screws and nuts) Eurorack case:

Now isn't that special? You're probably wondering what the hell I was thinking in the selection of my modules here, but I promise you it's all cool... this case will serve as a supplement to my Portable Rig, which will occasionally benefit from an outboard sequencer, trigger source, and the modular world's two quirkiest percussion modules in the Dinky's Taiko and Mysteron.
As you can see, the printed 6U brackets have customizable angles for each tier, which I think is pretty nifty. You might not have guessed it, but this turned out to be pretty challenging to get just right, and provided a firm reminder of all the things I ever hated about trigonometry. I've been wondering what benefit is conferred by these progressive angles such as I see on a variety of cases and such as are implemented in this design. I haven't come up with anything yet, other than it makes a pretty striking visual impression. Any thoughts?
Again, I stress that I haven't tested these prints in any sort of serious way, and that there is risk implied in their use. They are merely fun experiments.